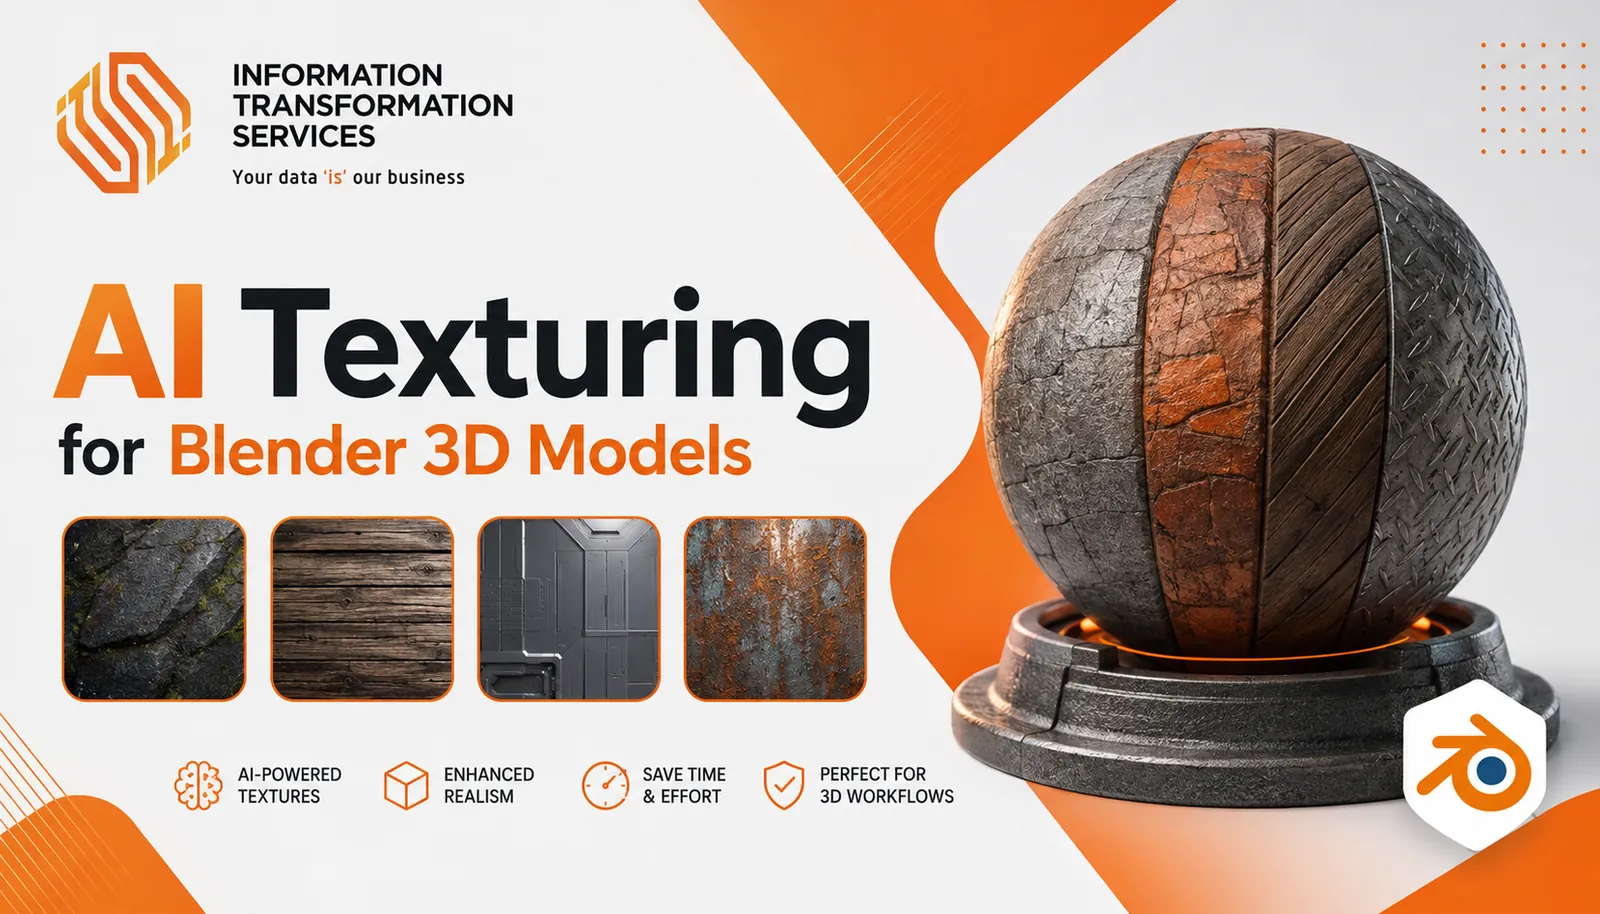
AI can accelerate texture exploration and material development, but an attractive generated image is not automatically a production-ready Blender material. The first result may still contain visible UV seams, stretched patterns, baked lighting, misplaced details, or physically incorrect PBR maps.
This guide treats AI Texturing for Blender 3D Models as a structured production workflow rather than a one-click effect. You will learn how to prepare a mesh, choose the right generation method, define an art direction, write controlled prompts, inspect every side of the model, repair confirmed defects, and optimize the final asset for games, animation, or visualization.
The workflow has three main stages:
-
Generate: Create controlled texture variations from a properly prepared model.
-
Inspect: Evaluate six views, UV continuity, style consistency, and each PBR map separately inside Blender's Shader Editor.
-
Repair: Correct confirmed defects with Texture Paint, inpainting, shader node tweaks, and controlled procedural details.
The objective is not simply to create an impressive front-view render. It is to produce a consistent, editable material that survives inspection across the complete model.
Key Takeaways
AI generation is the starting point, not the final quality check. Clean geometry and UVs improve control, all six sides should be reviewed, and PBR maps must be connected with correct color spaces. Features like logos, faces, and labels require manual control.
What Is AI Texturing for Blender 3D Models
AI texturing uses generative models to create, modify, or extend the surface appearance of a 3D object. Depending on the workflow, it may use a text prompt, reference image, existing material, camera render, depth map, UV layout, or masked texture region.
Whole-Model Texturing
Whole-model texturing applies generated surface information across an existing mesh. It is useful for prototypes, secondary props, style exploration, and rapid look development. For example, an AI tool may transform a plain treasure chest into a fantasy asset with wooden panels, dark metal bands, painted highlights, and scratches.
Seamless Material Generation
Seamless generation creates tileable materials for repeating surfaces such as stone, soil, wood, fabric, brick, plaster, painted metal, and ground materials. These textures can be reused across several objects, but they do not understand object-specific features like specific wear around a lock or hinge.
Image-to-PBR Generation (Metal/Roughness Standard)
Image-to-PBR systems convert a flat material image into separate texture maps, outputting the standard Metal/Roughness workflow used by modern render engines. These maps include Base Color (Albedo), Roughness, Metallic, Normal, Height, Ambient Occlusion, and Emission. An attractive Base Color image does not guarantee that its Roughness, Metallic, or Normal maps are physically accurate.
Diffusion-Based Texture Projection
Projection workflows generate an image from one or more camera views and project it back onto the mesh. Dream Textures, for example, documents text-prompt generation and depth-guided projection inside Blender.
Editable Native-Material Generation
Some AI-assisted Blender systems create native shader nodes or procedural materials rather than flattening every result into one baked image. Editable materials offer advantages when you need to adjust color, mapping, Roughness, or bump strength later.
AI-Assisted Local Editing
AI can also repair or change a selected region without regenerating the entire texture. Inpainting or local projection helps remove unwanted symbols, continue a broken pattern, replace an incorrect material region, adjust local colors, or correct distorted areas.
Which AI Texturing Method Should You Choose?
Choose the method according to the surface and the required level of control:
-
Use whole-model retexturing when a complete existing mesh needs a new visual identity.
-
Use seamless material generation for walls, terrain, floors, fabric, or other repeating surfaces.
-
Use image-to-PBR conversion when you already have a suitable material image but need proper shader maps.
-
Use camera projection for rapid concepts, matte surfaces, or assets dominated by a few important views.
-
Use native procedural or node-based materials when editability is more important than a fully painted unique texture.
-
Use local inpainting or projection when most of the material is successful and only a small region needs correction.
Stylish vs Stylized Texturing in Blender
A stylish texture is visually attractive, polished, or refined, while remaining realistic. A stylized texture intentionally simplifies or exaggerates reality to support a particular artistic language.
Stylized texturing uses broad brush strokes, simplified grain, limited color palettes, exaggerated edge highlights, large readable details, and non-photorealistic shading. Stylized materials are common in fantasy games, cartoons, anime-inspired projects, and low-poly environments.
Combining terms such as “photorealistic,” “cartoon,” “hand-painted,” and “highly detailed” in one prompt creates visual conflict. Establish a clear art direction before generation
When Should You Use AI, Manual, or Hybrid Texturing?
-
AI-First Workflow: Best for early concepts, background props, prototypes, environment materials, and rapid client previews.
-
Manual-First Workflow: Safer for character faces, hero props, product labels, logos, readable text, and branded assets.
-
Hybrid Workflow: The industry standard for production. AI creates initial material concepts, base color variations, and surface-wear ideas, while Blender handles seam repair, PBR map verification, decals, and final export optimization.
How to Prepare a Blender Model for AI Texturing
Prepare the model by checking its transforms, geometry, face normals, material regions, UV layout, texel density, and export settings. AI cannot compensate for a poorly prepared mesh.
When a base asset was produced through image-to-3D generation, inspect its proportions, hidden surfaces, topology, and practical usability. Our guide on AI-generated 3D models accuracy explains which geometry and refinement problems should be addressed first.
Key Pre-Texturing Checklist:
-
Apply Transforms: Select object -> Object > Apply > Rotation & Scale (Scale should equal 1.000).
-
Check Face Normals: Enable Blender's Face Orientation overlay to ensure no inverted faces exist.
-
Separate Material Slots: Group distinct surface types (e.g., wood vs metal vs glass) into separate slots.
-
Clean UV Unwrapping: Ensure seams are placed in hidden crevices or natural edges. Apply a grid texture to verify consistent texel density across all islands
Stage One: Generate the AI Textures
Define the Technical Texture Brief
Before opening your generator, document the style, materials, palette, target platform, and map requirements. You can build a structured prompt brief using tools like ITS AI Chat to specify object details and exclusions before running generation passes
Prompt Example: Stylized hand-painted oak treasure chest, warm brown palette, dark iron bands, broad painted wood grain, exaggerated edge highlights, subtle scratches around lock, fantasy RPG game asset, neutral lighting, clean albedo, no text, no baked shadows.
Texture Resolution Matrix
-
2K (2048x2048): Standard real-time game props, background environment assets, and mobile engines. Fast generation time.
-
4K (4096x4096): Hero props, main character gear, close-up camera targets, and high-fidelity real-time renders.
-
8K (8192x8192): Cinematic assets, offline rendering, architectural film visualisations, and large-format printing.
Enable De-lighting (Albedo Isolation)
Ensure your AI generator's Remove Lighting (De-lighting) toggle is enabled. De-lighting strips directional highlights and cast shadows from the Base Color map. If lighting remains baked into the Base Color, Blender will add scene lighting on top of generated lighting, causing doubled shadows and unrealistic reflections as lights move.
Stage Two: Inspect & Connect PBR Maps in Blender
Once your maps are generated, open Blender’s Shading Workspace to inspect and connect them to the Principled BSDF shader node. Ensure your Viewport Shading is set to Material Preview or Cycles Rendered mode.
Pro Tip: 1-Click Setup with Node Wrangler
Enable Blender's built-in Node Wrangler add-on (Edit > Preferences > Add-ons > Node Wrangler). Select the Principled BSDF node in the Shader Editor and press Ctrl + Shift + T. Select all generated texture maps at once Blender will automatically import, configure color spaces, and wire every map into its correct input slot.
Manual Setup & Color Space Rules
If connecting manually (Shift + A > Texture > Image Texture):
-
Base Color (Albedo): Set Color Space to sRGB -> connect to Base Color.
-
Metallic: Set Color Space to Non-Color -> connect to Metallic.
-
Roughness: Set Color Space to Non-Color -> connect to Roughness.
-
Normal Map: Set Color Space to Non-Color -> connect to a Normal Map Node -> connect to
Stage Three: Repair & Fine-Tune with Shader Nodes
If inspection reveals defects, use non-destructive in-Blender shader fixes before attempting manual re-painting or re-generation.
1. Fine-Tuning Roughness with a ColorRamp
If the AI-generated Roughness map makes the surface look too reflective or uniform:
-
Add a ColorRamp node (Shift+A -> Converter > ColorRamp) between the Roughness Image Texture and the Principled BSDF.
-
Drag the black and white sliders to compress or expand reflection blur without modifying the source image file.
2. Fixing Inverted or Harsh Normal Maps
-
If dents appear as raised bumps, open the Normal Map Node and switch the space or invert channels.
-
Adjust the Strength slider on the Normal Map node (typically between 0.3 and 0.8 for stylized models) to prevent pixelated edge noise
3. Repairing UV Seams with Texture Paint
-
Switch to Texture Paint mode.
-
Select the Clone Brush or a soft Draw Brush with low Strength (0.2–0.4).
-
Sample the adjacent texture color (S key) and paint across the visible seam boundary following the natural wood grain or metal stroke direction.
-
Go to Image > Save As in the Image Editor to save modified texture files to disk.
Optimizing AI Textures for Games, Unreal Engine & Animation
Channel Packing (ARM Maps)
For real-time engines like Unreal Engine and Unity, combine three grayscale maps into a single RGB texture to save memory and draw-call overhead:
-
Red Channel: Ambient Occlusion (AO)
-
Green Channel: Roughness
-
Blue Channel: Metallic
Use Blender’s Combine Color node in the Shader Editor or bake channels directly to output a single packed _ARM texture map.
Export Formats
-
GLB / glTF: Best for web viewers, three.js, and browser applications. Embeds PBR maps directly into a compact binary file.
-
FBX: Standard for Unreal Engine and Unity. Retains material slot assignments for automated engine material creation.
-
OBJ: Legacy format. Exports separate texture files with an .mtl definition file
Final Generate–Inspect–Repair Checklist
-
Generate: Check mesh geometry, apply scale/rotation, write a targeted technical prompt, enable de-lighting, and generate PBR maps.
-
Inspect: Use Ctrl + Shift + T (Node Wrangler) to connect maps, verify sRGB vs Non-Color settings, and evaluate all 6 sides under studio lighting.
-
Repair: Insert ColorRamp nodes for roughness tuning, adjust Normal strength, paint seam boundaries, and run local inpainting where needed.
-
Optimize: Pack ARM channels if exporting to real-time game engines, set resolution (2K/4K), and test in the final target environment
Conclusion
AI Texturing for Blender 3D Models accelerates surface creation, but raw generative outputs are starting points rather than finished assets. Following a disciplined Generate, Inspect, and Repair process gives you full technical control over material responses, seam alignment, and performance optimization. By pairing AI generation with Blender’s native Shader Editor and Texture Paint tools, you ensure your 3D assets are production-ready across any rendering pipeline.